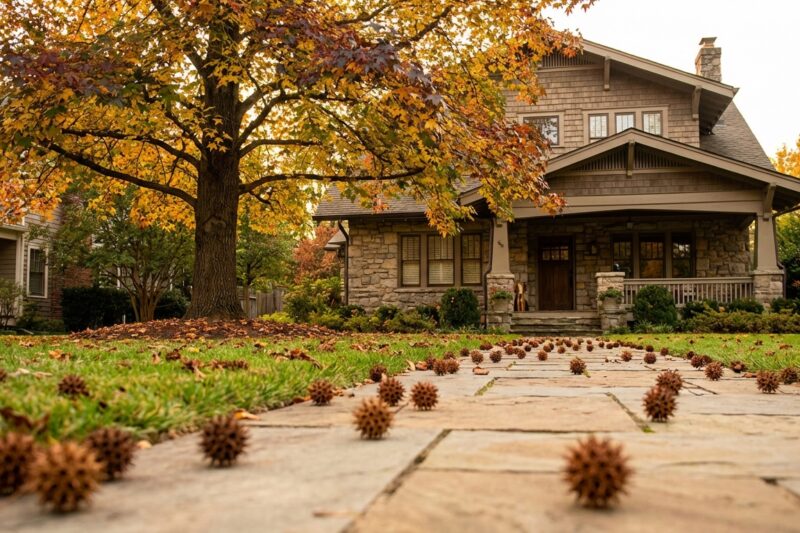
Creating a native wildflower garden transforms your property into a sustainable, low-maintenance landscape that supports local wildlife while reducing your water bills and maintenance time. The key to success lies in understanding seed stratification—a natural process that breaks seed dormancy and ensures robust germination when spring arrives.
Understanding Seed Stratification
Seed stratification mimics the natural winter conditions that native seeds experience in the wild. Many native wildflower seeds have built-in dormancy mechanisms that prevent germination until they’ve experienced a period of cold, moist conditions. This evolutionary adaptation ensures seeds don’t germinate during warm fall weather, only to be killed by winter frost.
During stratification, you’ll expose seeds to temperatures between 32-40°F for a specific period—typically 30 to 120 days depending on the species. This cold treatment breaks down germination inhibitors and prepares the seed for spring growth. Without proper stratification, many native seeds will simply sit in your soil without germinating, leading to disappointing results and wasted effort.
Why Choose Native Wildflowers
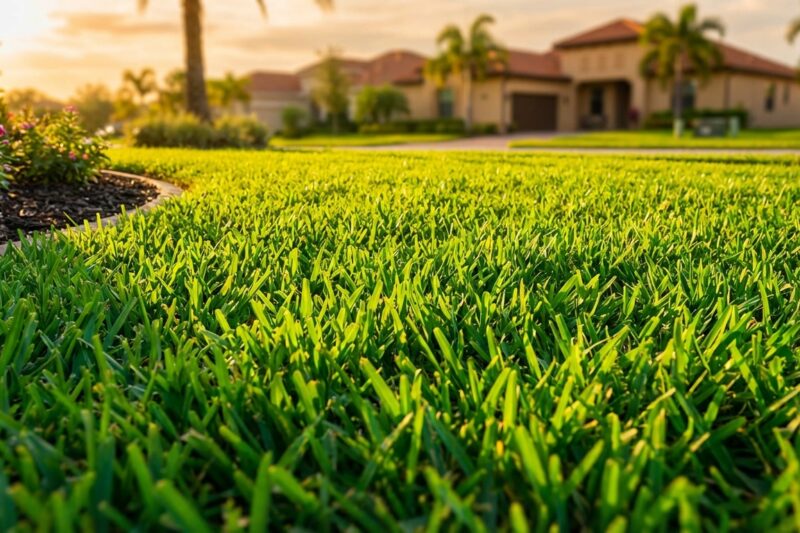
Native wildflower gardens offer compelling advantages that make them ideal for homeowners seeking sustainable landscaping solutions. Once established, these plants require minimal watering since they’ve adapted to your local rainfall patterns and soil conditions. You’ll spend less time on maintenance compared to traditional flower beds—no regular fertilizing, minimal pest problems, and natural resistance to local diseases.
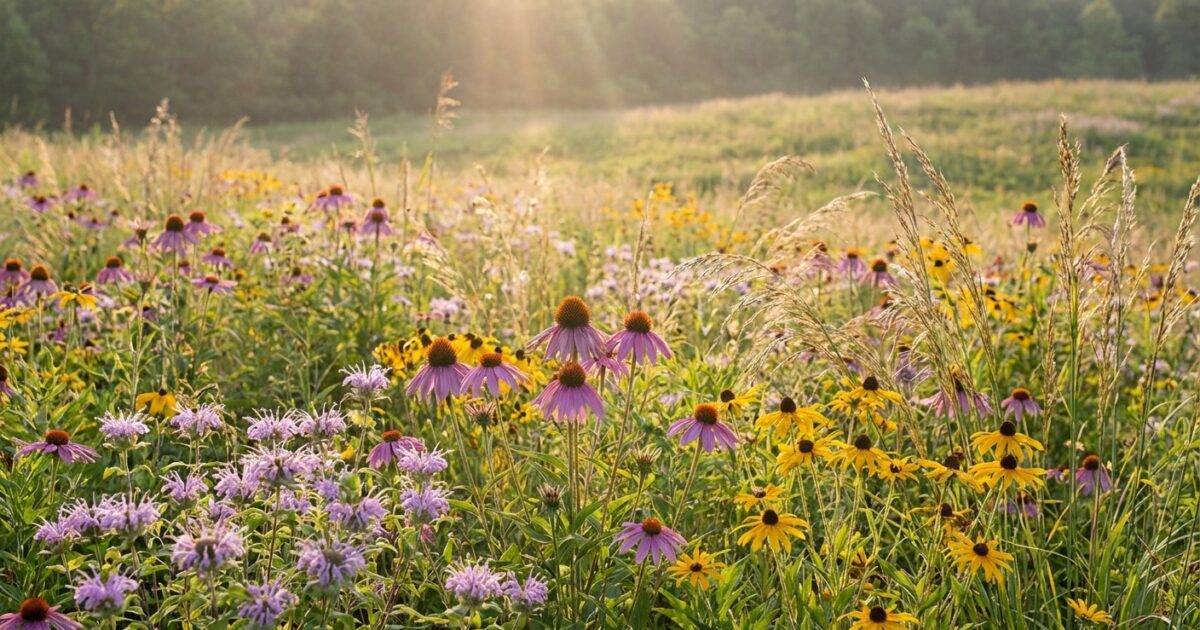
Your native garden becomes a crucial habitat for local wildlife, supporting native bees, butterflies, and birds that have co-evolved with these plants. Many native wildflowers bloom at different times throughout the growing season, providing continuous nectar sources and creating visual interest from early spring through late fall.
From a financial perspective, native wildflower gardens offer excellent value. Seeds cost significantly less than nursery plants, and you can cover large areas for a fraction of the cost of traditional landscaping. Many natives self-seed, expanding your garden naturally each year without additional investment.
Essential Supplies and Costs
Before starting your stratification process, gather these supplies:
- Seeds: $3-8 per packet (covers 50-200 square feet depending on species)
- Storage containers: Ziplock bags, mason jars, or plastic containers with lids
- Moistening medium: Peat moss, vermiculite, or sand ($5-10)
- Labels and waterproof markers: ($3-5)
- Spray bottle for misting: ($2-5)
- Refrigerator space: Dedicated drawer or shelf
Total startup cost typically ranges from $25-50 to establish a 500-square-foot wildflower garden, making it one of the most cost-effective landscaping options available.
Selecting Native Plants for Your Region
Success depends heavily on choosing species native to your specific region. Contact your local extension office, native plant society, or visit online databases like the Native Plant Database to identify plants indigenous to your area. Focus on species that naturally occur within 50-100 miles of your location for best results.
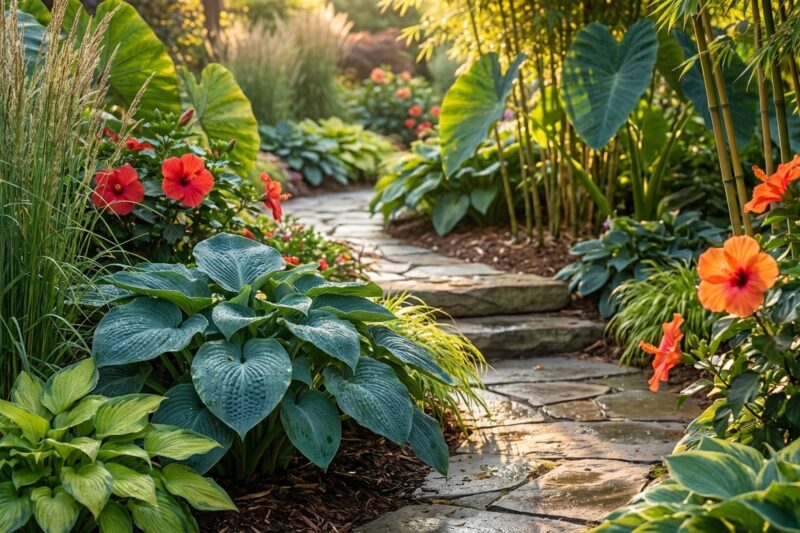
When selecting species, consider your site conditions. Sun-loving prairie plants like purple coneflower and black-eyed Susan thrive in full sun locations, while woodland species like wild ginger and trillium prefer shadier spots. Pay attention to moisture requirements—some natives prefer well-drained soils while others tolerate seasonal flooding.
Start with proven performers that establish easily, such as blanket flower, native asters, and wild bergamot. These forgiving species build confidence while you develop your native gardening skills. Once you’ve mastered the basics, expand to more specialized or challenging species.
Understanding Germination Codes
Native seed packets often include germination codes that specify stratification requirements. Understanding these codes helps you group seeds with similar needs and streamline your process.
Code examples:
- C(60): Requires 60 days of cold stratification
- C(90): Needs 90 days of cold treatment
- C(30-60): Variable requirement, 30-60 days
- L: Light-dependent germination (surface sow)
- D: Hard seed coat requiring scarification
Group seeds by their stratification periods to simplify timing and storage. Seeds requiring 60-90 days should start stratification in December or January for spring planting, while those needing only 30 days can wait until February or March.
Step-by-Step Stratification Methods
Baggie Method
The baggie method works well for small quantities and allows easy monitoring. Mix your seeds with slightly damp peat moss or vermiculite using a 1:3 ratio—seeds should be moist but not soggy. Place the mixture in a labeled ziplock bag, leaving some air space. Store in your refrigerator’s crisper drawer, checking monthly to ensure proper moisture levels.
Container Method
For larger quantities, use plastic containers with tight-fitting lids. Layer damp sand or vermiculite in the bottom, scatter seeds evenly, then cover with another thin layer of moistening medium. Label clearly with species name and stratification start date. This method prevents seeds from clumping together and makes planting easier.
Mason Jar Method
Mason jars provide excellent visibility for monitoring stratification progress. Add your moistened growing medium and seeds, leaving headspace for air circulation. The glass allows you to check moisture levels and seed condition without opening the container repeatedly.
Regardless of method, maintain consistent moisture without waterlogging. Seeds should feel damp to touch but not dripping wet. Check containers every 2-3 weeks, misting lightly if the medium feels dry.
Timing Your Stratification and Planting
Calculate backwards from your intended planting date to determine when stratification should begin. Most areas benefit from late April to early May seeding, after the last frost date but while soils remain cool and moist from winter.
For spring planting, begin stratification in December through February depending on species requirements. Seeds needing 120 days start in December, while those requiring only 30 days can wait until March. Mark your calendar with planting dates to avoid missing the optimal window.
Some gardeners prefer fall seeding, allowing natural winter conditions to provide stratification. This method works well but offers less control over timing and may result in more variable germination rates.
Site Preparation and Planting
Prepare your planting site several weeks before seeding. Remove existing vegetation through repeated mowing, smothering with cardboard, or selective herbicide application if necessary. Avoid deep tilling, which brings buried weed seeds to the surface where they’ll compete with your wildflowers.
Native wildflowers typically prefer lean soils with minimal organic matter. Avoid adding compost or fertilizer, which encourages aggressive weeds and can actually harm some native species adapted to nutrient-poor conditions.
Plant your stratified seeds in late April or early May when soil temperatures remain cool but frost danger has passed. Scatter seeds evenly across prepared soil, aiming for recommended seeding rates—typically 1-2 pounds per acre or about 1 ounce per 500 square feet for most mixes.
Rake lightly to ensure good seed-to-soil contact, but avoid burying seeds too deeply. Many native seeds are tiny and need light for germination. A general rule suggests planting depth should equal twice the seed diameter—for dust-sized seeds, surface sowing works best.
First-Year Care and Common Mistakes
Your first growing season requires patience and minimal intervention. Water lightly if spring rains fail, but avoid overwatering, which encourages weeds and can harm drought-adapted natives. Expect slow growth—many natives focus on root development during their first year, with dramatic flowering beginning in year two.
Weed management proves crucial during establishment. Hand-pull aggressive weeds but leave alone plants you can’t identify—they may be slow-germinating natives. Mow the area to 6-8 inches in late June if weeds become overwhelming, which sets back weeds while allowing natives to recover.
Common mistakes include overwatering, applying fertilizer, and expecting immediate results. Native wildflowers evolved in challenging conditions and often perform better with benign neglect than intensive care. Resist the urge to pamper your emerging garden—trust the process and give your plants time to establish.
By following proper stratification techniques and understanding native plant needs, you’ll create a stunning wildflower garden that provides years of low-maintenance beauty while supporting local ecosystems. The initial investment in time and learning pays dividends through reduced maintenance, lower water bills, and the satisfaction of creating habitat that benefits wildlife for generations.