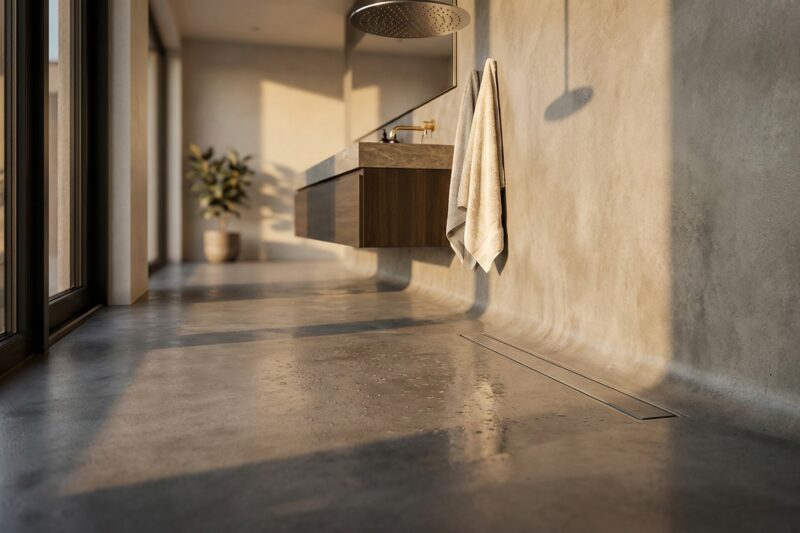
Installing beautiful new tile over an uneven floor is like building a house on a shaky foundation—it’s a recipe for disaster. Uneven surfaces cause tiles to crack, grout lines to fail, and entire installations to deteriorate prematurely. Self-leveling compound offers homeowners a reliable solution for creating the smooth, level surface that successful tile installations demand.
Why Floor Leveling Is Critical for Tile Installation
Your tile installation is only as strong as the surface beneath it. Even minor imperfections—dips as small as 1/8 inch over a three-foot span—can cause significant problems. When tiles span these low spots, they create hollow spaces underneath that flex under foot traffic. This flexing leads to cracked tiles, broken grout joints, and loose sections that require costly repairs.
Professional tile installers follow strict flatness standards for good reason. The Tile Council of North America recommends that floors vary no more than 1/4 inch over 10 feet, and no more than 1/16 inch over 12 inches for successful installations. Most residential floors fall short of these standards, making leveling an essential preparation step.
Self-Leveling Compound vs. Other Leveling Methods
You have several options for addressing uneven floors, and choosing the right method depends on your specific situation. Self-leveling compound works best for floors with minor to moderate irregularities—typically variations under 1/2 inch. It creates a smooth, hard surface that’s ideal for tile installation.
For floors with severe damage or major structural issues, you’ll need more aggressive solutions. Plywood subflooring or cement backer board can bridge larger gaps and reinforce weak areas. However, these methods add significant height to your floor, which may create problems with door clearances and transitions to adjacent rooms.
Self-leveling compound offers the advantage of minimal height addition—usually just 1/8 to 1/4 inch—while providing excellent results for most residential applications. It’s also more forgiving for DIY homeowners than trying to install perfectly level subflooring.
Essential Tools and Materials
Success with self-leveling compound depends on having the right equipment before you start. You’ll find most of these items at Home Depot, Lowe’s, or your local building supply store:
- Self-leveling compound: Calculate roughly one 50-pound bag per 40-50 square feet at 1/4-inch thickness
- Primer: Essential for proper adhesion—don’t skip this step
- Large mixing bucket: 5-gallon capacity minimum
- Heavy-duty drill with paddle mixer attachment: Standard hand mixers won’t handle the thick consistency
- Smoothing rake or spreader: Designed specifically for self-leveling compound
- Spike roller: Removes air bubbles from the compound
- 4-foot level: For checking floor flatness
- Vacuum cleaner: Surface preparation is crucial
- Knee pads and safety glasses: Protect yourself during the process
Measuring Floor Irregularities
Before purchasing materials, you need to assess your floor’s condition accurately. Start by thoroughly cleaning the surface and removing any loose debris, old adhesive, or damaged flooring material.
Use your 4-foot level to identify high and low spots throughout the room. Mark low areas with chalk, and measure their depth using a ruler or tape measure. Pay special attention to areas around the perimeter, near doorways, and in corners where irregularities commonly occur.
For large rooms, work systematically in a grid pattern to ensure you don’t miss problem areas. Document the deepest low spots—these measurements determine how much compound you’ll need and whether self-leveling compound is the appropriate solution.
Calculating Material Requirements
Self-leveling compound coverage varies significantly based on the depth of application. Most manufacturers provide coverage charts, but as a general rule, one 50-pound bag covers approximately 40-50 square feet at 1/4-inch thickness. For thicker applications, coverage decreases proportionally.
Calculate your needs conservatively and purchase extra bags—it’s better to have leftover compound than run short mid-project. Most retailers accept returns of unopened bags, and having extra material ensures you can complete the job without delays.
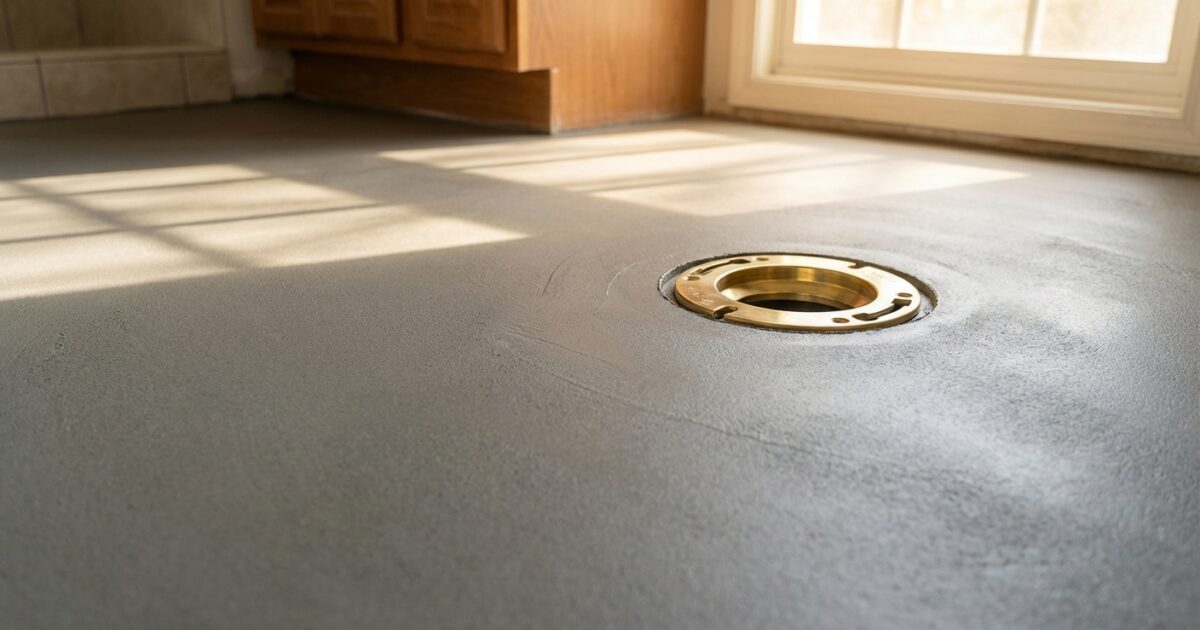
Surface Preparation Steps
Proper preparation determines whether your self-leveling compound adheres correctly and performs as expected. Start by ensuring the substrate is structurally sound—any flex or movement in the underlying floor will cause the compound to crack.
Clean the surface meticulously using a vacuum cleaner to remove all dust, debris, and loose particles. Even small amounts of contamination can prevent proper adhesion. For concrete floors, consider using a concrete degreaser to remove any oil stains or residue.
Apply primer according to the manufacturer’s specifications. This step is non-negotiable—unprimed surfaces frequently experience adhesion failures that compromise the entire installation. Use a high-quality primer designed specifically for your substrate type, whether concrete, plywood, or existing tile.
Mixing and Application Process
Self-leveling compound has a limited working time once mixed, so preparation is essential. Clear the room of obstacles, ensure adequate ventilation, and have all tools within easy reach before you begin mixing.
Mix compound in small batches—typically one bag at a time for most DIY applications. Follow the manufacturer’s water-to-powder ratio precisely, as incorrect mixing affects both workability and final strength. Use your heavy-duty drill with paddle mixer to achieve a smooth, lump-free consistency.
Pour the mixed compound immediately, starting in the furthest corner from your exit point. Work quickly but deliberately, using your smoothing rake to guide the material into low spots. The compound should flow naturally and self-level, but you may need to encourage it slightly with your tools.
Immediately after spreading each batch, use your spike roller to eliminate air bubbles. Roll in multiple directions to ensure complete bubble removal—trapped air creates weak spots that can lead to future failures.
Achieving a Smooth Finish
The key to a professional finish lies in working systematically and maintaining consistent thickness. Avoid the temptation to over-manipulate the compound—excessive working can introduce air bubbles and prevent proper self-leveling.
Watch for areas where the compound isn’t flowing properly, which may indicate insufficient mixing or improper surface preparation. Address these issues immediately, as the compound sets quickly and becomes difficult to modify once it begins curing.
Plan your mixing and application sequence to maintain a wet edge between batches. This prevents visible lines or height variations where different batches meet.
Troubleshooting Common Problems
Even experienced installers encounter challenges with self-leveling compound. If your compound isn’t flowing properly, check your mixing ratio—too little water creates a thick, unworkable consistency. Conversely, too much water weakens the final product and extends drying time.
Air bubbles that persist despite rolling indicate mixing problems or contaminated surfaces. Stop application, identify the cause, and address it before proceeding. Attempting to work over problematic areas rarely produces satisfactory results.
If you notice the compound setting too quickly, environmental factors may be the cause. High temperatures, low humidity, or excessive air movement accelerate curing. Adjust room conditions when possible, and consider working in smaller batches.
Cost Considerations and Professional vs. DIY
Self-leveling compound costs approximately $40-60 per 50-pound bag, with primer adding another $30-50 per gallon. For a typical bathroom, expect material costs of $150-300, depending on room size and floor condition.
Professional installation typically costs $3-5 per square foot, including materials and labor. While this represents a significant expense, consider hiring professionals for large areas, severely damaged floors, or if you lack experience with time-sensitive materials.
DIY installation makes sense for smaller projects and homeowners comfortable with precise mixing and timing requirements. However, mistakes can be costly to correct, potentially requiring complete removal and reapplication.
Preparing for Tile Installation
Allow self-leveling compound to cure completely before proceeding with tile installation. Most products reach initial hardness within 4-6 hours but require 24-48 hours for full cure, depending on thickness and environmental conditions.
Test the surface with your level once cured to verify flatness meets tile installation standards. Address any remaining irregularities with additional compound or light sanding before proceeding.
Clean the cured surface thoroughly to remove any dust or residue that could interfere with tile adhesive bonding. Your properly leveled floor now provides the ideal foundation for a beautiful, long-lasting tile installation that will serve your home for decades to come.