You’ve just invested in beautiful new flooring, but something feels wrong. That soft spot near the kitchen island wasn’t there before, or maybe you’re hearing creaks in areas that used to be silent. Hidden subfloor damage can reveal itself after new flooring installation, turning your dream upgrade into a homeowner’s nightmare.
Understanding how to identify, assess, and address subfloor issues early can save you thousands of dollars and prevent minor problems from escalating into major structural concerns. Here’s everything you need to know about dealing with subfloor damage that emerges after your flooring project.
Recognizing the Warning Signs
Subfloor damage rarely announces itself with obvious visual cues, especially when hidden beneath new flooring materials. Instead, you’ll need to rely on tactile and auditory signals that something isn’t right beneath the surface.
Physical sensations often provide the first clues. You might notice a springy or bouncy feeling when walking across certain areas, or experience a sinking sensation where the floor seems to give slightly under your weight. Some homeowners describe feeling like they’re walking on a trampoline in isolated spots.
Sound indicators can be equally revealing. New creaking, squeaking, or popping sounds that occur consistently in the same locations suggest subfloor movement or separation. These sounds often become more pronounced during temperature changes or periods of high humidity when materials expand and contract.
Visual signs may develop over time, including gaps appearing between baseboards and flooring, doors that suddenly stick or won’t close properly, or slight depressions becoming visible in the floor surface. With tile or stone installations, you might notice cracking in grout lines or tiles themselves.
Why Problems Go Undetected During Installation
Professional flooring contractors typically assess subflooring condition before beginning work, but several factors can cause issues to slip through even careful inspections. Small areas of damage might not be immediately apparent, especially when they’re in early stages of deterioration.
The installation process itself can sometimes accelerate existing problems. The weight of installers, tools, and materials moving across compromised subflooring can worsen damage that was previously stable. Additionally, some flooring materials mask subfloor problems temporarily — thick underlayments or rigid flooring systems might initially hide soft spots or minor deflection issues.
Environmental changes following installation can also reveal problems. New flooring materials can alter moisture levels and airflow patterns in your home, potentially exacerbating existing moisture-related subfloor damage that wasn’t previously symptomatic.
Common Causes of Subfloor Damage
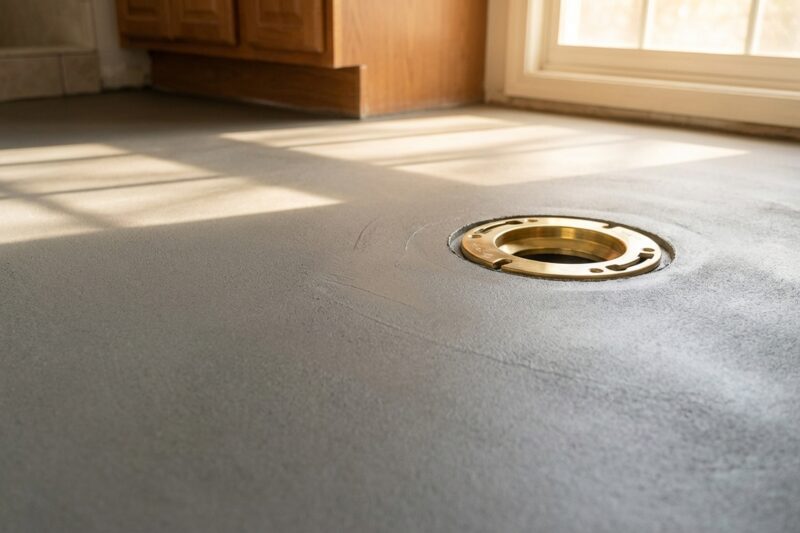
Understanding what causes subfloor deterioration helps you address root problems rather than just symptoms. Moisture infiltration ranks as the leading culprit, whether from plumbing leaks, foundation issues, or inadequate vapor barriers. Water damage can weaken and warp subflooring materials, creating the soft spots and squeaks you’re experiencing.
Structural settling represents another common cause, particularly in newer homes or additions. As your house settles into its foundation, subfloor supports can shift or develop gaps, leading to uneven weight distribution and floor movement.
Pre-existing installation problems might only become apparent after new flooring adds weight or changes how loads transfer through the floor system. Inadequate joist spacing, missing blocking, or substandard subflooring materials installed during original construction can finally show their limitations.
DIY Assessment Techniques
Before calling professionals, you can perform several assessments to gauge the severity and extent of subfloor issues. Start with the walking test — systematically walk across every area of the affected flooring, noting locations where you feel unusual movement, hear sounds, or detect changes in floor firmness.
The marble test can reveal subtle sloping or depressions. Place a marble on the floor in suspected problem areas and observe whether it rolls toward specific locations, indicating low spots or sagging.
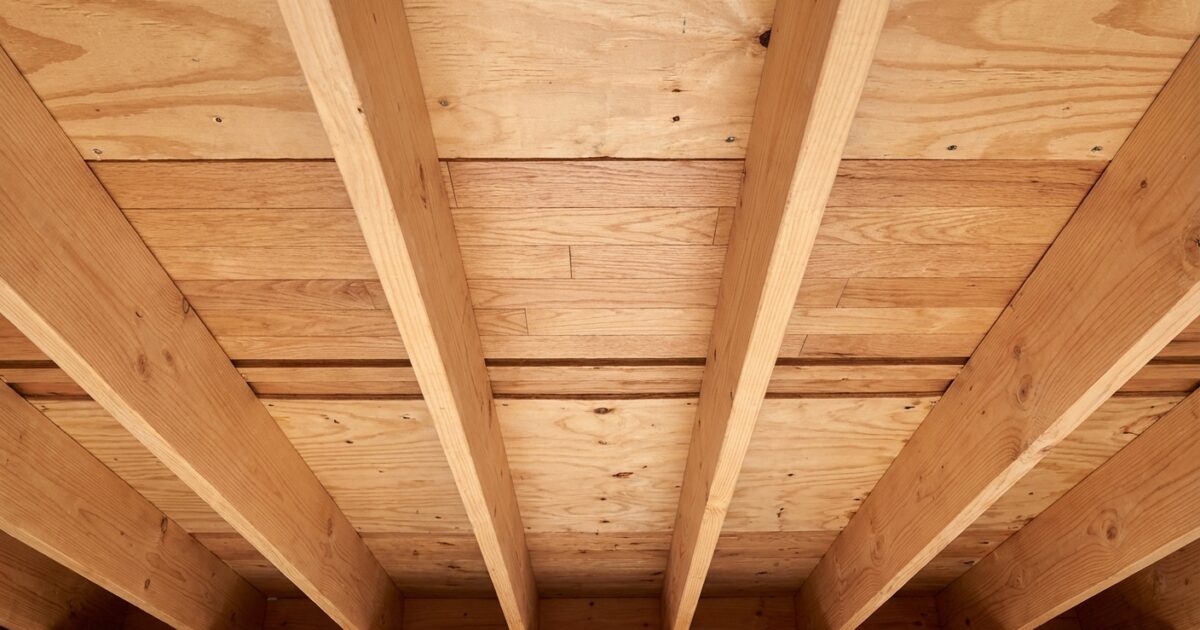
For more detailed assessment, you’ll need access to the underside of the subfloor from basement or crawl space areas. Look for signs of moisture damage, including dark staining, soft or crumbling wood, or visible mold growth. Check joist alignment and look for any obvious sagging or separation between subfloor panels.
Use a moisture meter to check humidity levels in subflooring materials. Readings significantly higher than surrounding areas suggest ongoing moisture problems that need immediate attention.
Professional vs. DIY Repairs
Determining whether to tackle subfloor repairs yourself or hire professionals depends on the extent of damage and your comfort level with structural work. Minor issues you might handle independently include small squeaks caused by loose subfloor panels, minor gaps between panels, or localized soft spots smaller than a few square feet.
Professional intervention becomes necessary when damage affects large areas, involves structural supports like joists or beams, or stems from ongoing moisture problems requiring specialized remediation. Additionally, if your assessment reveals damage that might compromise your home’s structural integrity, don’t attempt DIY repairs.
Safety considerations should guide your decision. Working in crawl spaces or basements carries inherent risks, and structural repairs require specific knowledge to avoid creating larger problems. When in doubt, consult a qualified contractor for evaluation, even if you ultimately decide to handle some repairs yourself.
Cost Considerations and Budgeting
Subfloor repair costs vary dramatically depending on damage extent, accessibility, and underlying causes. Minor repairs might cost a few hundred dollars, while extensive damage requiring subfloor replacement and addressing moisture issues can reach several thousand dollars.
Budget for assessment costs first — professional evaluations typically range from $200 to $500, money well spent to understand the full scope of needed repairs. This upfront investment helps you avoid surprises and plan realistic budgets.
Consider repair timing carefully. Addressing subfloor issues immediately prevents additional damage and keeps costs manageable. Delaying repairs often leads to more extensive problems affecting larger areas, ultimately costing significantly more.
For budget-conscious homeowners, prioritize repairs by safety and urgency. Address structural concerns first, followed by areas with ongoing moisture issues, then cosmetic problems that don’t pose immediate risks.
Working with Flooring Contractors
When subfloor problems emerge shortly after installation, approach your flooring contractor professionally and document everything thoroughly. Take photos of problem areas, note when issues first appeared, and describe symptoms clearly.
Review your contract to understand coverage for subfloor-related issues. Many contracts specify that subfloor preparation is the homeowner’s responsibility, while others include basic subfloor assessment and minor repairs in the installation price.
Even if your contract doesn’t require the contractor to address subfloor problems, many reputable professionals will work with you to find solutions, especially if issues weren’t apparent during initial assessment. They might offer to coordinate repairs at cost or recommend trusted subcontractors.
Insurance and Subfloor Damage
Homeowners insurance coverage for subfloor damage depends on the underlying cause. Sudden water damage from burst pipes or appliance failures typically receives coverage, while gradual moisture intrusion or maintenance-related deterioration usually doesn’t.
Document any suspected water damage immediately and contact your insurance company to report potential claims. Even if damage isn’t covered, having official documentation can be valuable for future reference.
Consider whether filing a claim makes financial sense. Small repairs might not exceed your deductible, and frequent claims can impact future coverage or premiums.
Step-by-Step Minor Repair Options
For simple squeaks caused by loose subfloor panels, you can often remedy the problem by driving screws through the subfloor into joists below. Locate joists using a stud finder, then drive 2.5-inch screws every 8 inches along the joist line in squeaky areas.
Small soft spots might be reinforced by adding additional support from below. Cut a piece of 2×8 lumber to fit snugly between existing joists beneath the damaged area, then secure it with joist hangers or angled screws.
Address minor moisture issues by improving ventilation and addressing humidity sources. Install exhaust fans in bathrooms, ensure proper drainage around your home’s foundation, and consider using a dehumidifier in basement or crawl space areas.
Prevention for Future Projects
Prevent subfloor surprises in future flooring projects by requiring thorough subfloor inspection before work begins. Ask contractors to document subfloor condition with photos and provide written assessment of any issues discovered.
Address known moisture problems before installing new flooring. This might involve foundation repairs, plumbing fixes, or improved ventilation — investments that protect both your subfloor and new flooring materials.
Choose flooring materials appropriate for your home’s conditions. In areas prone to moisture issues, consider moisture-resistant subflooring materials and flooring systems designed to handle occasional dampness.
Regular maintenance helps prevent small problems from becoming major issues. Inspect accessible subfloor areas annually, address plumbing leaks immediately, and maintain proper humidity levels throughout your home. Taking these proactive steps ensures your beautiful new flooring remains supported by a solid, stable foundation for years to come.