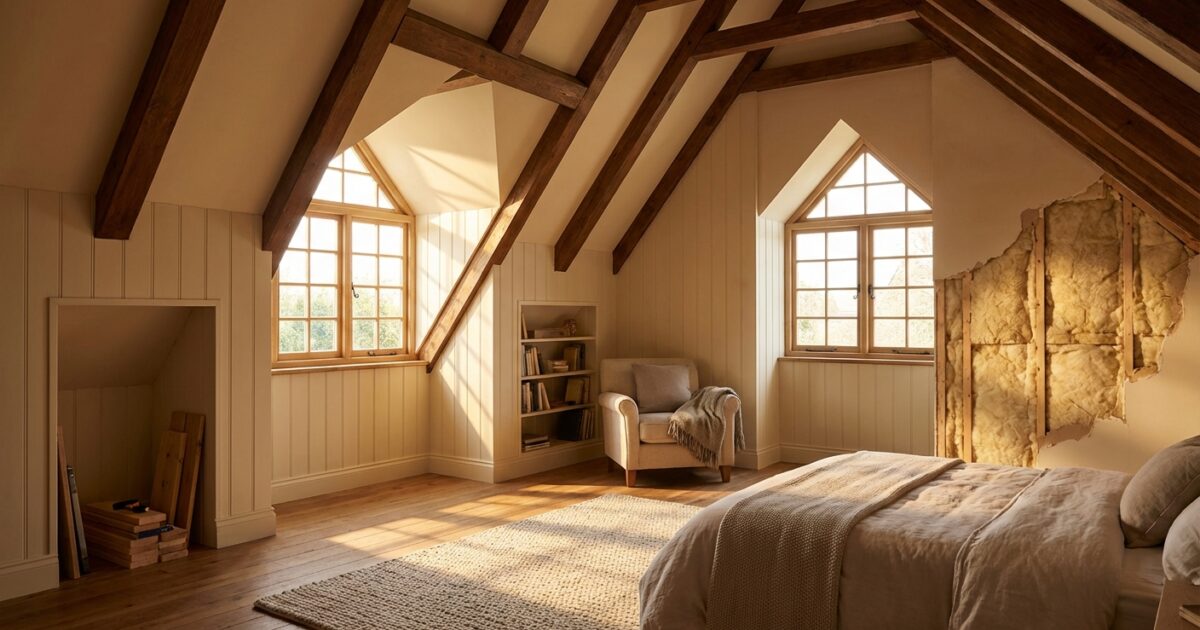
Dormer bedrooms often become the most uncomfortable rooms in the house — blazing hot in summer, frigid in winter, and prone to condensation that leads to mold and mildew. If you’ve discovered these issues in your home, you’re not alone. Dormers present unique insulation challenges that standard home construction practices don’t always address properly.
Understanding why your dormer bedroom feels like a different climate zone from the rest of your house is the first step toward creating a comfortable, healthy living space. The good news is that with the right approach, you can transform that problem room into one of the most pleasant spaces in your home.
Why Dormer Rooms Are Insulation Problem Magnets
Dormers create thermal weak points in your home’s envelope because they interrupt the continuous insulation layer of your main roof. Unlike standard rooms with walls and ceilings, dormer spaces have complex geometries where walls meet angled ceilings at odd angles. These intersections, called thermal bridges, allow heat to transfer more easily between indoor and outdoor environments.
The sloped ceilings in dormers sit directly against the roof deck, often with minimal space for insulation. Traditional batt insulation gets compressed in these tight spaces, reducing its effectiveness significantly. Meanwhile, the vertical walls of the dormer may have been insulated differently than the main house walls, creating inconsistent thermal protection.
Air movement compounds these problems. Warm, humid air from your living spaces rises and gets trapped in dormer peaks, where it meets cold roof surfaces. This temperature differential creates the perfect conditions for condensation, which leads to mold growth, wood rot, and unpleasant odors.
Recognizing the Warning Signs
Your dormer bedroom likely needs insulation attention if you notice several of these indicators:
- Temperature extremes: The room feels noticeably hotter or colder than adjacent spaces, even with the same HVAC settings
- Condensation on windows: Excessive moisture appears on dormer windows, especially during temperature swings
- Musty odors: Persistent damp or moldy smells that don’t improve with cleaning
- Visible mold or mildew: Dark spots or fuzzy growth on walls, especially in corners where the ceiling meets walls
- Ice dams: Ice formations along the dormer roof edges during winter
- High energy bills: Increased heating and cooling costs as your system works harder to maintain comfort
- Paint problems: Peeling paint or wallpaper, particularly on exterior walls
If you’re experiencing multiple symptoms, your dormer likely has both insulation deficiencies and moisture management issues that need addressing together.
Insulation Options for Dormer Spaces
Choosing the right insulation for your dormer depends on your specific situation, budget, and whether you’re planning other renovations. Each approach has distinct advantages and limitations.
Spray Foam Insulation
Closed-cell spray foam offers the most comprehensive solution for dormer insulation problems. It creates an air barrier while providing insulation, eliminating the thermal bridging issues that plague other materials. Spray foam conforms to irregular shapes and fills gaps that batt insulation can’t reach.
The downside is cost — spray foam typically runs two to three times more than traditional insulation. However, it often pays for itself through energy savings and eliminates the need for separate vapor barriers and air sealing work.
Rigid Foam Boards
Rigid foam boards work well when you have access to install them properly. They provide consistent insulation value and don’t compress like batts. You’ll typically install them on the exterior of the roof deck or interior side, depending on your renovation scope.
This approach requires careful attention to sealing joints and maintaining proper ventilation gaps. Improper installation can trap moisture and create bigger problems than you started with.
High-Performance Batts
Modern high-performance batt insulation can work in dormers if you have adequate depth and install it correctly. Look for batts specifically designed for cathedral ceilings that maintain their insulation value even when slightly compressed.
The key is ensuring proper air sealing before installing batts and maintaining ventilation channels above the insulation. This approach costs less upfront but requires meticulous installation to be effective.
Maintaining Critical Airflow
Proper ventilation separates successful dormer insulation projects from expensive failures. Your dormer needs continuous airflow from soffit vents at the eaves to ridge or roof vents at the peak. This airflow prevents moisture buildup and ice dam formation.
When adding insulation, you must maintain at least a two-inch air gap between the insulation and roof deck. Use rigid baffles to keep this channel open — loose insulation will eventually shift and block airflow paths.
Consider the ventilation requirements early in your planning. Sometimes you’ll need to add soffit vents or improve ridge ventilation before tackling the insulation work.
Roof Replacement vs. Insulation Upgrades
If your roof needs replacement within the next five to ten years, consider timing your insulation project accordingly. Roof replacement provides the perfect opportunity to install exterior rigid foam insulation and address all thermal bridging issues comprehensively.
However, don’t delay necessary insulation work just to coordinate with roof replacement. Mold and moisture problems will continue causing damage while you wait. You can often achieve significant improvements with interior insulation upgrades that won’t interfere with future roofing work.
Evaluate your roof’s condition honestly. If you’re dealing with multiple leaks, significant granule loss, or structural issues, prioritize the roof replacement and include comprehensive insulation in that project.
DIY Capabilities and Professional Requirements
Some dormer insulation work falls within DIY capabilities, while other aspects require professional expertise. You can typically handle interior air sealing, installing batt insulation, and basic vapor barrier work if you’re comfortable working in tight spaces.
However, spray foam application, structural modifications, and electrical work around insulation require professional installation. Improperly applied spray foam can create structural problems, while electrical issues in insulated spaces create fire hazards.
Consider hiring professionals for the assessment and planning phase even if you intend to do some work yourself. A building science consultant or experienced insulation contractor can identify problems you might miss and recommend the most effective approach for your specific situation.
Investment and Returns
Dormer insulation projects typically cost between $3,000 and $8,000 for a single bedroom, depending on size, chosen materials, and complexity. Spray foam installations run higher, while DIY batt insulation projects cost less.
Energy savings vary significantly based on your climate, energy costs, and the severity of existing problems. Most homeowners see noticeable comfort improvements immediately and energy savings of 15-30% for heating and cooling the affected space.
Beyond energy costs, proper insulation protects your investment by preventing mold, rot, and structural damage. The health benefits of eliminating mold and improving air quality provide value that’s difficult to quantify but often motivates homeowners more than energy savings alone.
Preventing Future Problems
Proper installation prevents most future condensation issues, but you’ll need to maintain good practices to keep your dormer healthy. Control indoor humidity levels with exhaust fans in bathrooms and kitchens. Ensure adequate ventilation throughout your home to prevent excessive moisture buildup.
Monitor your dormer room during seasonal temperature changes. Small condensation problems caught early are much easier to address than full-blown mold infestations. Check for signs of ice dams during winter and address any formation immediately.
Schedule periodic inspections of your insulation and ventilation systems. Look for compressed insulation, blocked vents, or signs of moisture intrusion during routine home maintenance.
Avoiding Contractor Problems
When seeking professional help, be wary of contractors who promise quick fixes without addressing the underlying building science issues. Red flags include proposals that don’t mention ventilation, quotes significantly below others, and contractors who can’t explain how they’ll maintain airflow gaps.
Ask potential contractors about their experience with dormer insulation specifically. Request references from recent similar projects and ask about their approach to air sealing and moisture management. A qualified contractor should be able to explain the building science principles behind their recommended solution.
Get detailed written proposals that specify materials, installation methods, and warranty terms. Be particularly cautious of door-to-door salespeople or high-pressure tactics around insulation work.
Your dormer bedroom can become a comfortable, healthy space with the right insulation approach. Focus on understanding the specific challenges your dormer faces, choose appropriate materials and methods, and don’t cut corners on air sealing and ventilation. Whether you tackle the work yourself or hire professionals, addressing these issues will improve your comfort and protect your home’s long-term value.